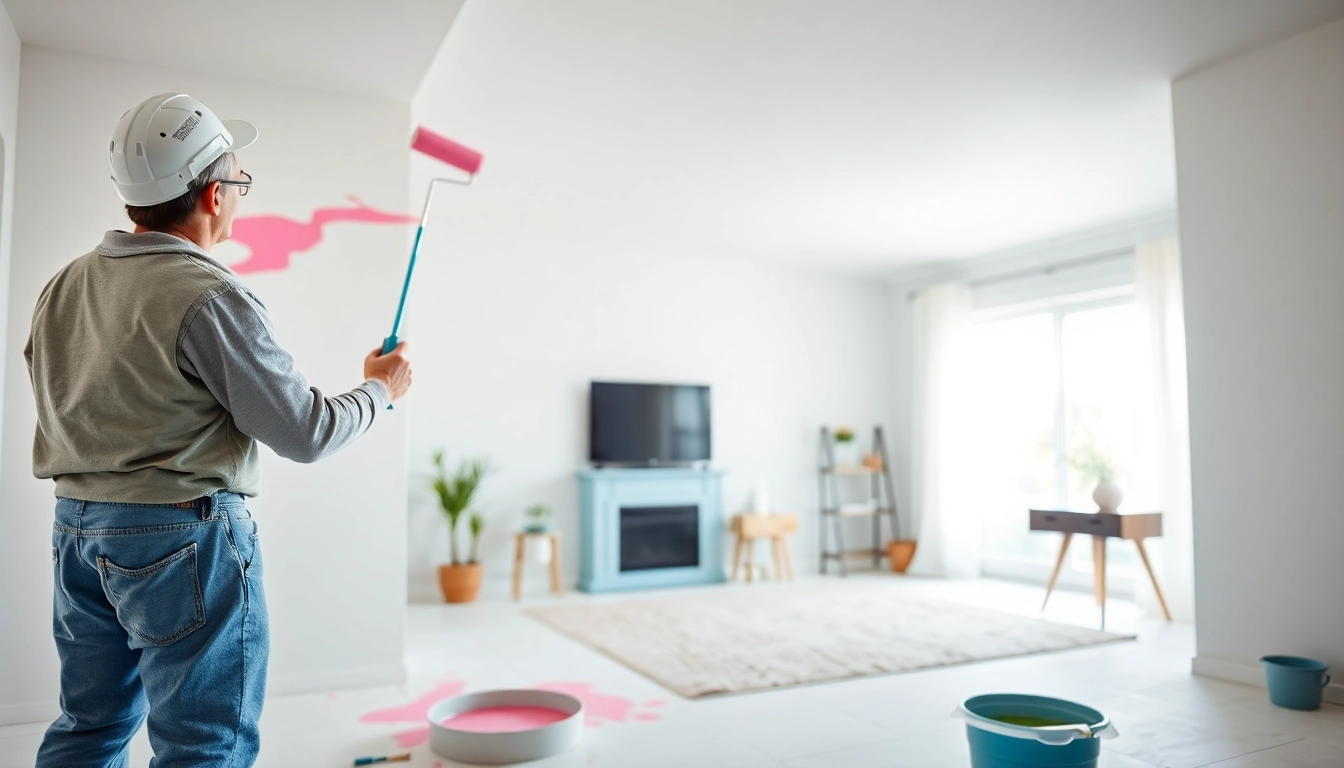
Understanding Drywall Painting Basics
What is drywall painting?
Drywall painting refers to the process of applying paint to drywall surfaces. Drywall, commonly made of gypsum, is a popular building material used for constructing walls and ceilings in residential and commercial spaces. Unlike traditional plaster, drywall provides a smooth and even surface that enhances the aesthetic appeal of any room when properly painted. Successful drywall painting can dramatically alter the ambiance of a space, offering an opportunity for homeowners to express their style through color. For a comprehensive guide on drywall painting, it’s essential to grasp the fundamental aspects of this process.
Importance of drywall preparation
Preparation is the cornerstone of any successful painting project, especially with drywall. Proper surface preparation ensures that the paint adheres well, resulting in a smooth, professional finish. Unprepared drywall, filled with dust, scratches, or oil from fingerprints, can cause the paint to peel, chip, or wear unevenly over time. Additionally, prepping the drywall helps seal any joints, promoting an even application and vibrant color once the painting is completed.
Necessary tools for drywall painting
To effectively paint drywall, one should gather the following tools:
- Drop cloths: To protect floors and furniture from paint splatters.
- Painters’ tape: For masking edges and ensuring clean lines.
- Sandpaper or sanding block: To smooth the surface of the drywall.
- Primer: Essential for sealing and preparing the wall before paint application.
- Paintbrushes and rollers: Different sizes for detail painting and large areas.
- Ladder: For reaching higher areas of the wall.
- Paint tray: To hold and distribute paint efficiently.
Prepping Drywall for a Flawless Finish
Cleaning and inspecting drywall surfaces
Before painting the drywall, it’s crucial to thoroughly clean and inspect the surfaces. Use a vacuum or a damp cloth to remove dust and debris that may have accumulated on the drywall over time. Then, inspect the surface for any imperfections such as dents, holes, or cracked seams that need to be repaired. The inspection phase is vital, as addressing these issues at this stage can prevent complications during and after painting.
Applying primers and sealants
Priming is an essential step in drywall painting that should not be overlooked. A primer serves as a base coat, sealing the porous drywall material and ensuring even paint absorption. For new drywall, a PVA (polyvinyl acetate) primer is commonly recommended. Not only does it cover imperfections, but it also enhances the adhesion of the topcoat. In cases where unusual stains or dark colors are present, consider using a stain-blocking primer to prevent any bleed-through.
Sanding techniques for a smooth surface
Sanding is another critical component of drywall preparation. After any repairs and priming, sanding the surface with fine-grit sandpaper (around 220 grit) helps create a smooth, level base for painting. Techniques such as using a sanding block or pole sander can assist in reaching larger areas, while a hand-held sander may work better for intricate spots. Always ensure to wear a mask to avoid inhaling dust particles, and clean the area thoroughly after sanding to eliminate residual dust before painting.
Effective Techniques for Applying Paint
Choosing the right paint for drywall
When selecting paint for drywall, it’s important to consider both the type of paint and its finish. Latex paint is often preferred for drywall due to its ease of application, quick drying time, and washable properties. The finish (flat, eggshell, satin, semi-gloss, or gloss) affects the appearance and durability of the paint. Flat finishes are excellent for hiding imperfections but may not be as washable, while gloss finishes are more durable and easier to clean but can highlight flaws in the drywall.
Roller vs. brush methods: Pros and cons
Choosing between using a brush or a roller can significantly impact your drywall painting project. Rollers are advantageous for covering large, flat surfaces quickly, providing an even coat and a professional look with minimal brush marks. However, for corners and intricate areas, brushes are indispensable—allowing for precision in cutting in around edges and moldings. The key is to strike a balance; starting with a roller for bulk coverage and transitioning to a brush for detailing often yields the best results.
Layering paint for durability and aesthetics
Layering paint is essential for achieving not only the desired color but also durability. Generally, applying two to three coats of paint allows for better color saturation and longevity of the finish. Ensure that each coat dries completely before applying the subsequent layer. Lightly sanding between coats can further assist in achieving a smooth finish and better adhesion. This practice is particularly beneficial when transitioning from a darker to lighter color or when covering imperfections.
Common Challenges in Drywall Painting
Resolving paint streaks and bubbles
One of the most frustrating challenges in drywall painting is encountering streaks and bubbles. Streaks are often the result of uneven application or using a roller or brush that is too dry. To resolve this, ensure that your tools are adequately loaded with paint and utilize overlapping strokes to create an even finish. Bubbles can occur due to over-rolling or applying paint too thickly; to remedy this, sand down the affected area once dry and repaint carefully.
Dealing with uneven textures
If the painted drywall surface has an uneven texture after drying, it could be due to improper loading of the roller or not blending the edges well while painting. To fix this, use a fine-grit sandpaper to smooth the uneven areas. Follow up with an appropriate primer over the sanded spot if it’s significant, and reapply the paint. Consistency in application technique is crucial to avoid such challenges in future projects.
How to fix mistakes in drywall painting
Mistakes happen, even for the most skilled painters. Common issues include paint drips, uneven coating, or inadvertently painting over taped edges. To fix drips, once dried, carefully sand down the excess paint and reapply. For uneven coverage, the solution is often to simply recoat the affected area. If you’ve accidentally painted over tape, carefully cut along the tape line with a utility knife before peeling away to reveal sharp edges. Learning how to address these mistakes enhances your skills as a drywall painter.
Maintaining Your Painted Drywall
Best practices for cleaning painted surfaces
Keeping painted drywall surfaces pristine requires a gentle touch. Regular dusting with a microfiber cloth helps remove accumulated dust without damaging the paint. For deeper cleaning, use a mixture of mild detergent and water—testing on a small inconspicuous area first. Avoid harsh chemicals or abrasive scrubbers as they can dull the paint finish or create scratches.
Touch-up techniques for drywall painting
Touching up painted drywall is imperative to maintain aesthetics over time. If you find scratches or stains, be sure to have extra paint available, ideally from the same batch used for the original wall. Clean the area lightly, sand if necessary, and apply the touch-up paint with a brush or roller, blending around the edges to ensure a smooth transition. Allow it to dry, and assess if additional coats are needed for an even finish.
Long-term care for drywall aesthetics
To prolong the life and appearance of painted drywall, avoid direct exposure to moisture or extreme temperatures. Maintain your indoor humidity levels and monitor for any leaks that may occur along seams. Additionally, periodically check the walls for signs of wear, and use touch-up techniques before any significant damage occurs. Creating a regular maintenance schedule can help in ensuring your drywall continues looking fresh and vibrant for years to come.


Leave a Reply